We have Triumph Riders Of India to thank for this very comprehensive guide to: FITTING THE 7″ HEADLIGHT STONE GUARD/GRILL ON TRIUMPH BIKES Suits the 7" headlight grill for Bonneville, Thruxton & other bikes
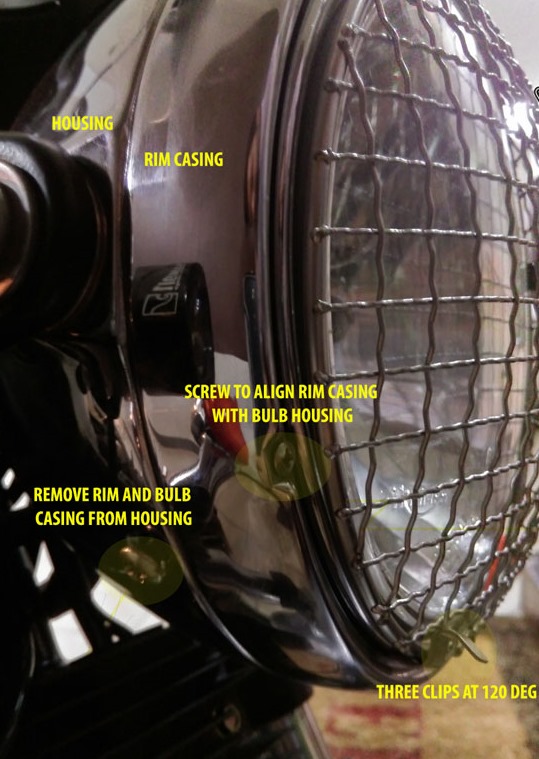
HEADLIGHT UNIT DESIGN
The headlight consists of three major parts connected together:-
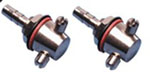
- The headlight housing :- Has wires and connectors inside the casing and is connected with two 12mm bolts to the motorcycle. Part 2 and 3 below fit on this with two screws.
- The bulb casing : Connected to the circular rim mentioned below.
Comprises of the bulb and reflection panel. Just like any torch has. Fits inside Part 3
- The rim of the headlight casing which is screwed to the bulb casing
:- Just a one inch border like a ring that is connected at three points.
Two screws on the sides and one on the face of the rim.
WHAT YOU NEED:
- Philips Screw driver
- Soft cloth to keep the headlight on
- Patience
INSTALLATION:
- Remove the headlamp from the housing: Facing the headlight; remove the two screws on the sides using the philips screw driver.
- Keep the screws safely on the side and disconnect the headlight H4 wire and the other wire to remove the headlamp securely.
- Take the unit with you to a calm well lit area and sit on a table with the parts. Let the fun begin
- We would recommend removing the two side screws
even though getting them back with the washer is difficult. What
removing these screws will do is give you space to but the clips inside
without much of a problem. These two screws hold the rim from the sides
while the third (aligns the ring casing. For the Third screw loosen but not remove as its there for the front face alignment and it would help you with keeping the ring in position to slide the clips inside.
- Since the third screw is still in its place you will have to do this
carefully without moving the ring rim away from its original position;
as you would not want to bend this screw while you put the clips in.
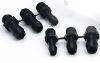
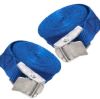
- Putting the clips in. ( Leave the stone guard to the side for now )
Please ignore the screw holes. The clips come from on top of the stone
guard they do not fit inside, they just fit in the gap between the rim
and the headlamp. The clips have a 90 degree bend at the end that makes
sure that once the rims is tightened back they dont come out . The
three clips need to put them at roughly 120 degrees away from each other
for them to hold on to the stone guard the best. While the first two
are easy the third ones are difficult as you would need to put that in
after putting the two screws back on. Once the two screws are back on
put the stone guard in between the two clips you installed and headlamp
glass. Try adjusting the stone guard with clips in such a way that they
fall in between the wire mesh so that they sit in well. After this
put in the third clip. What worked for us is sliding the third clip from
a gap that can be found if you closely look behind the rim near the
place where the side screws go in. There is space where the clips might go in easier than other places.
- Basically once the third screws is in with the guard in place. The stone guard is still loose but it wont come out for sure.
- Assemble the unit back on and bend the clips to fix it tighter in its place.
 |
|